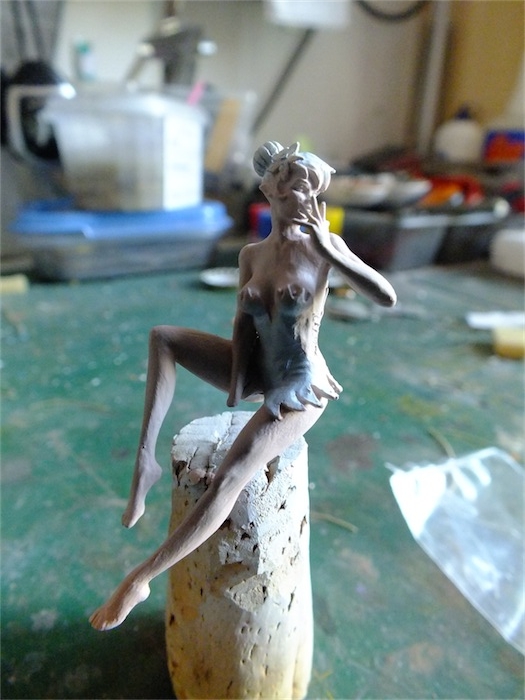
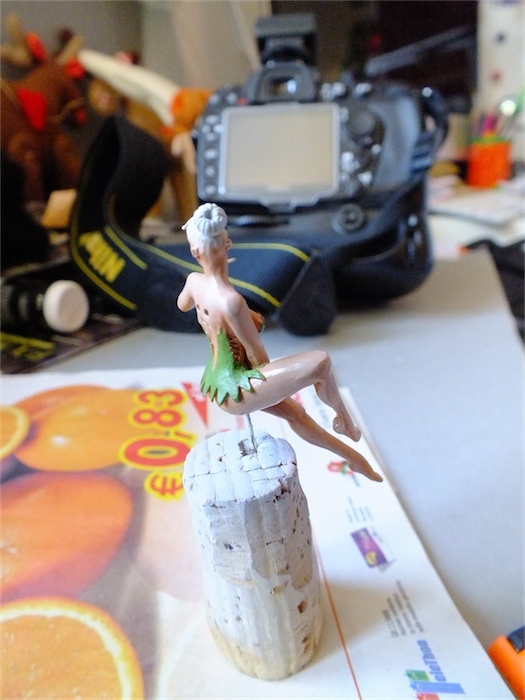
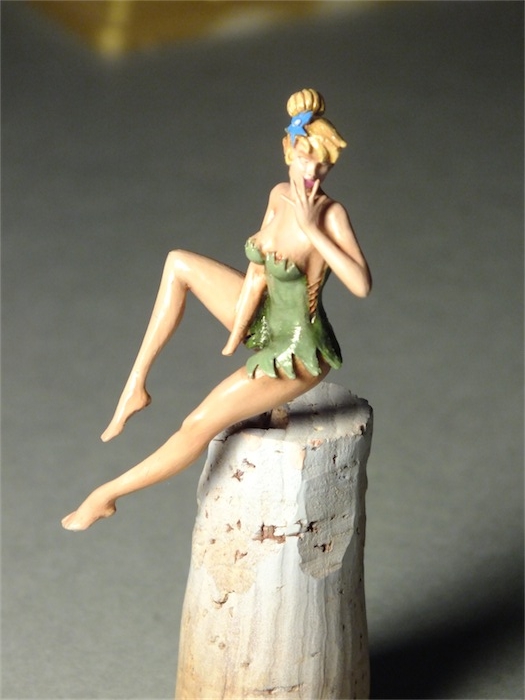
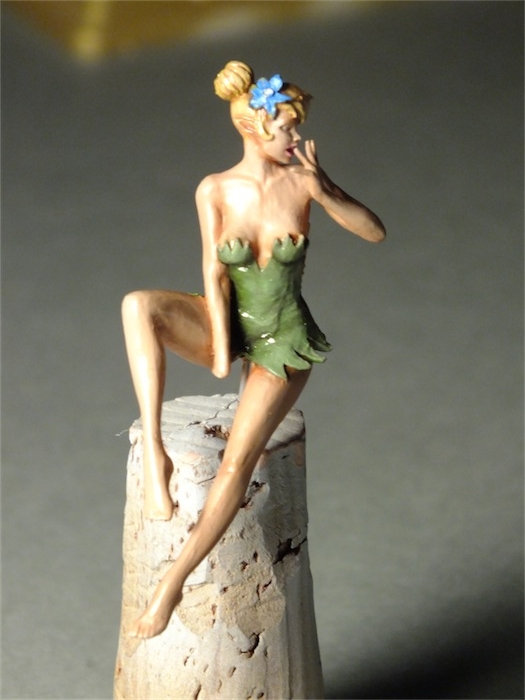
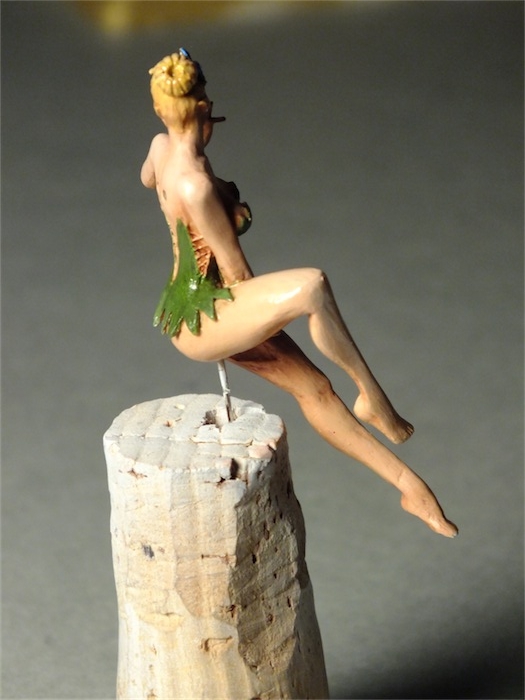
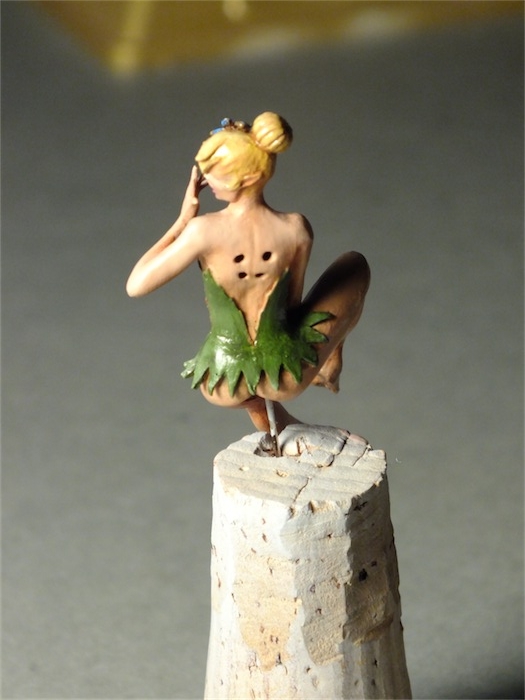
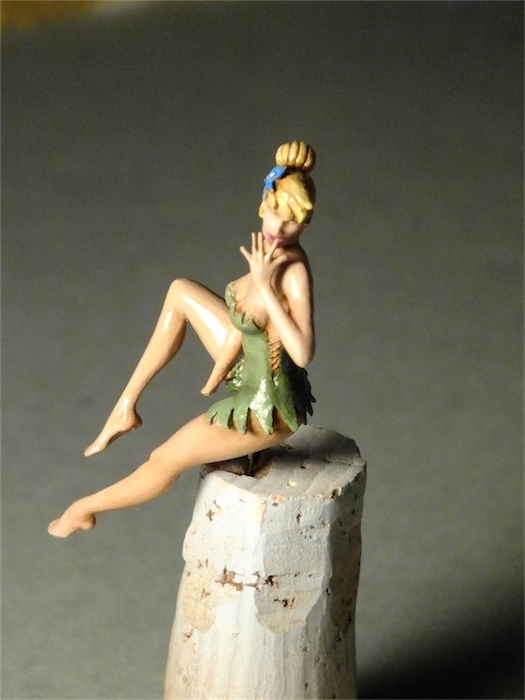
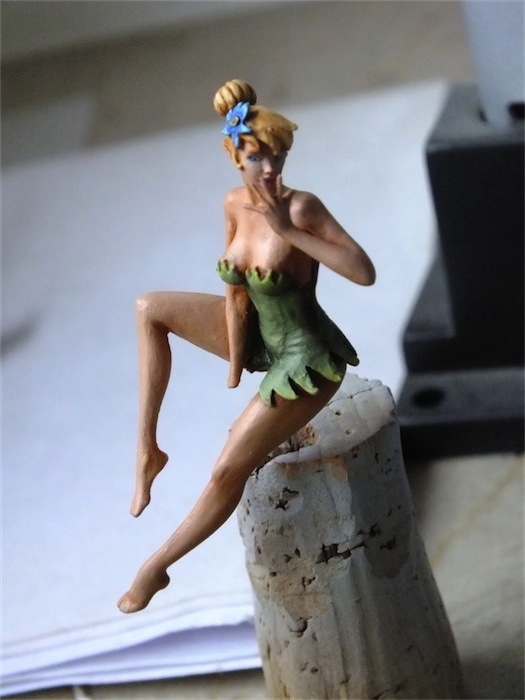
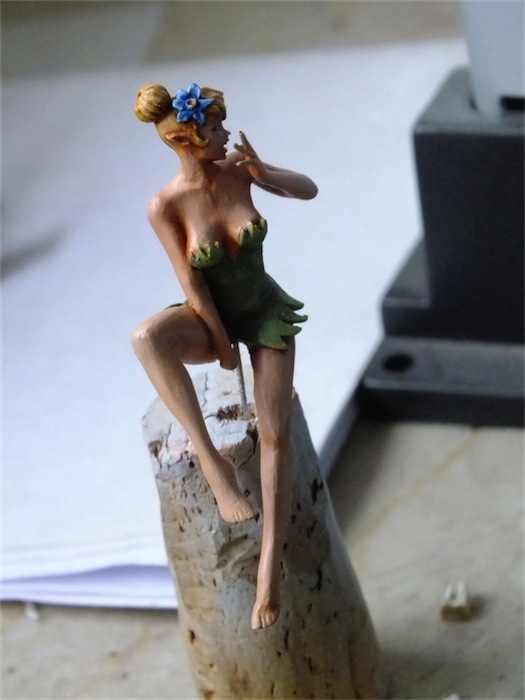
In Lucca Comics , this year the Kabuki brought some good news in his Pin up in 54mm , and I could not miss the Tinkerbell (but not the only one I got …: D ) .
And so I immediately started to get their hands and the colors …
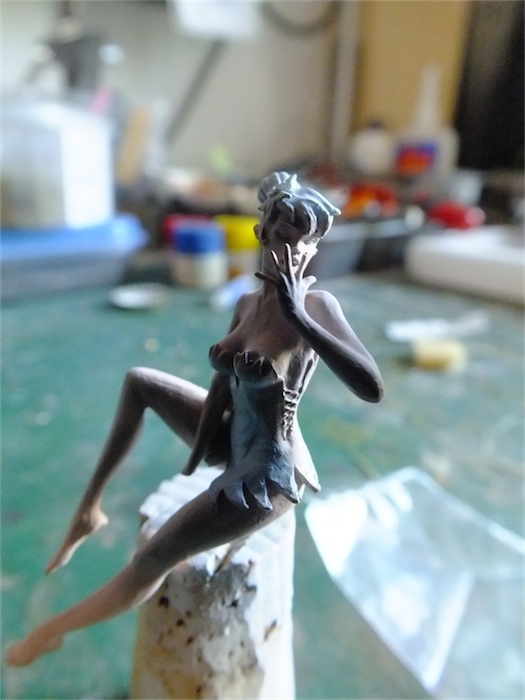
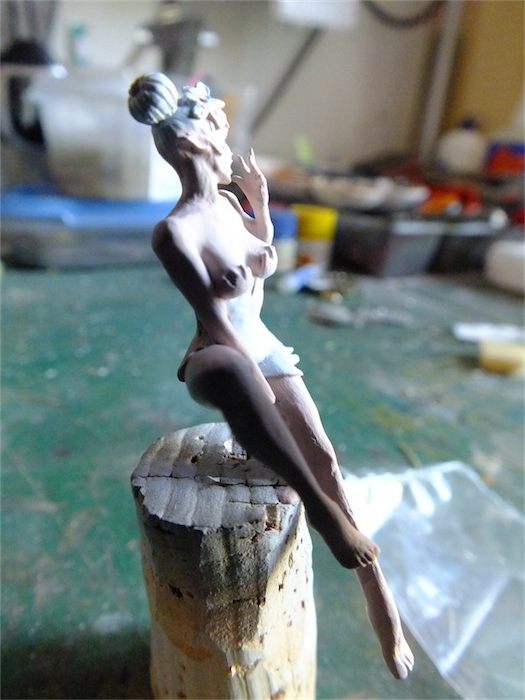
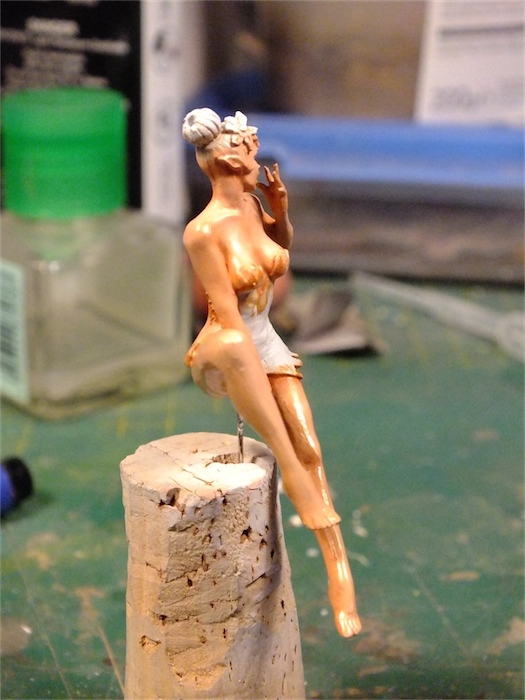
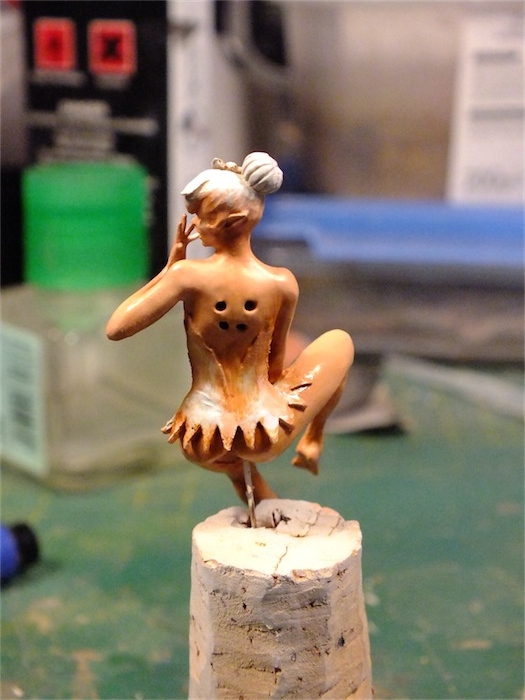
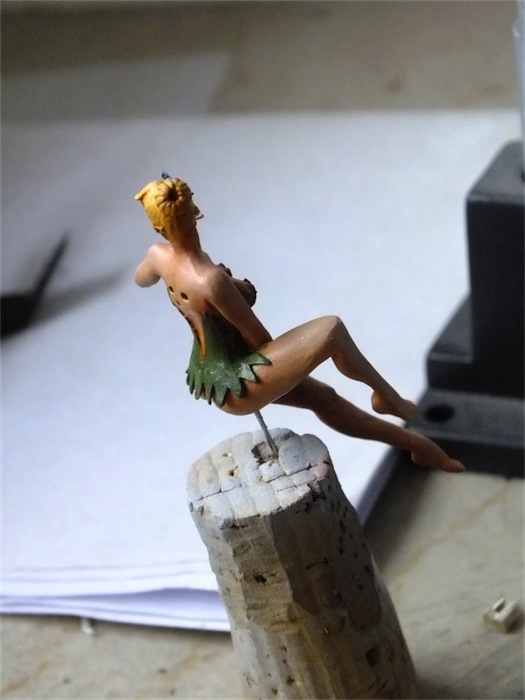
After cleaning up small burrs on the top, a coarse step on the leg lengthened ( Kabuki shame because the molds are usually perfect … ) and closed some small bubbles are passed to the primer and the complexion.
I wanted to try a new technique for me : I used acrylic paint to create the base of the complexion ( mixing white , burnt umber and burnt sienna ), but I immediately missed the dilution , creating small lumps of color. ..
I then removed all away with some water and started again from scratch.
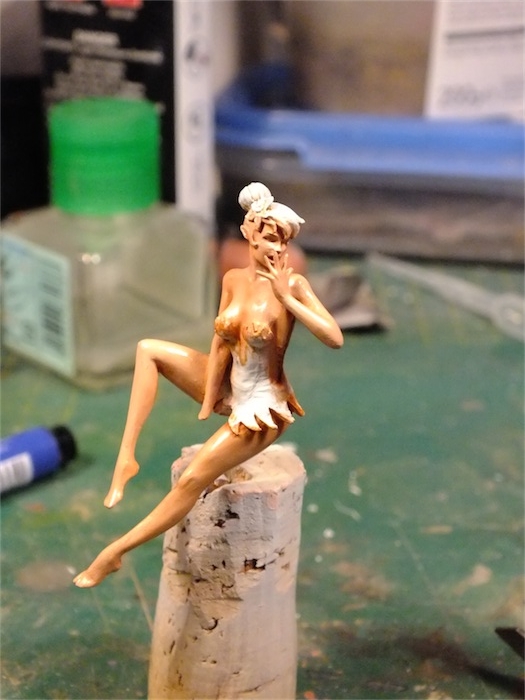
After applying the base ( this time in a decent way ) I switched to oil paints .
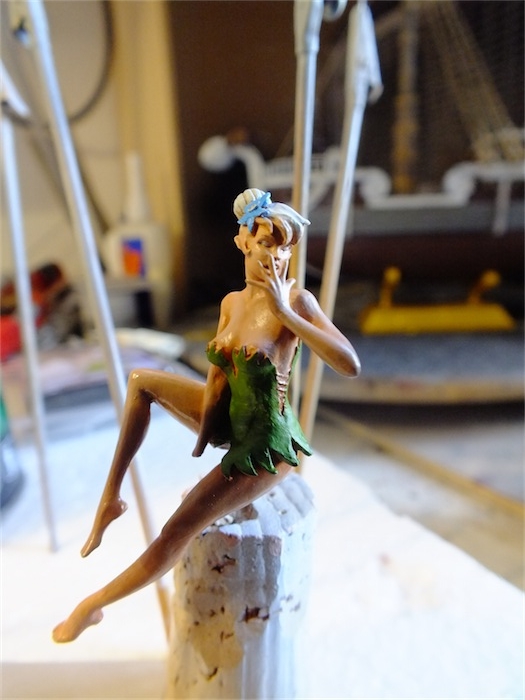
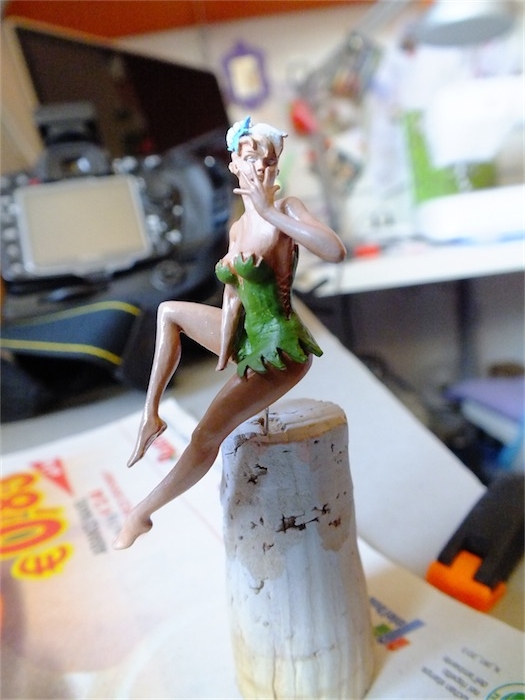
Following the video of David Tens on Youtube Channel NKGC I gave everything on the complexion a wash of burnt sienna . After a while I started to put small amounts of white where I wanted that there were clear parts , and with a clean brush I blended the color. I repeated the process several times until a shade that pleases me .
The same I did on the dress …
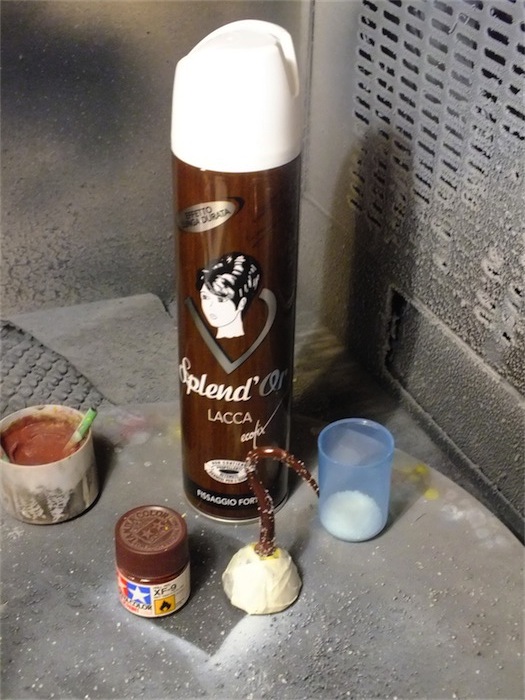
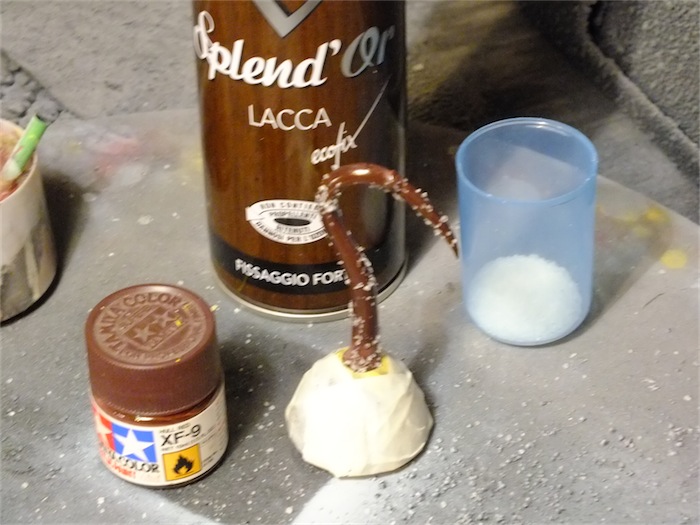
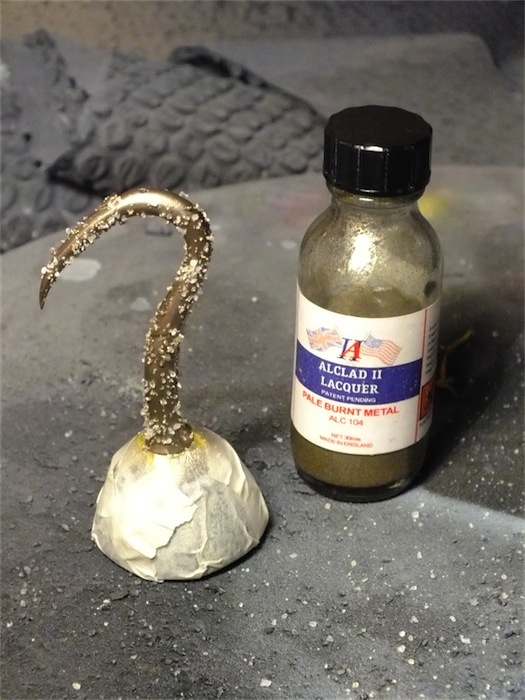
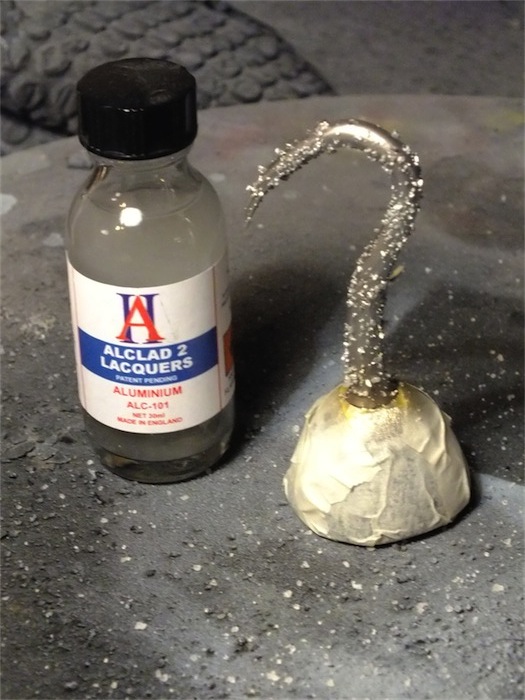
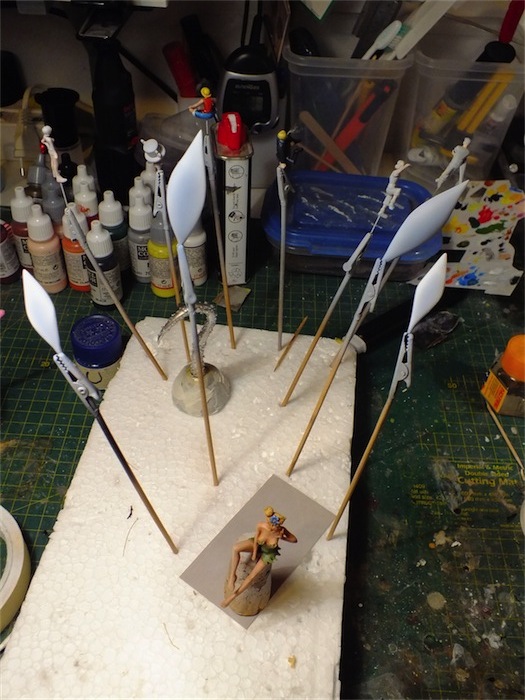
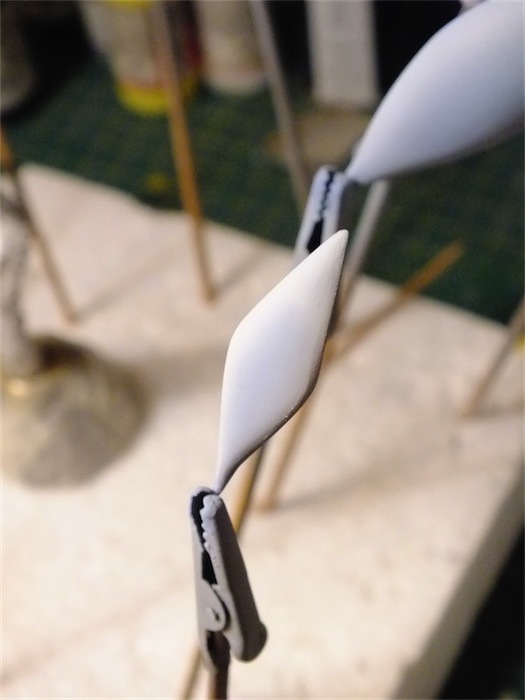
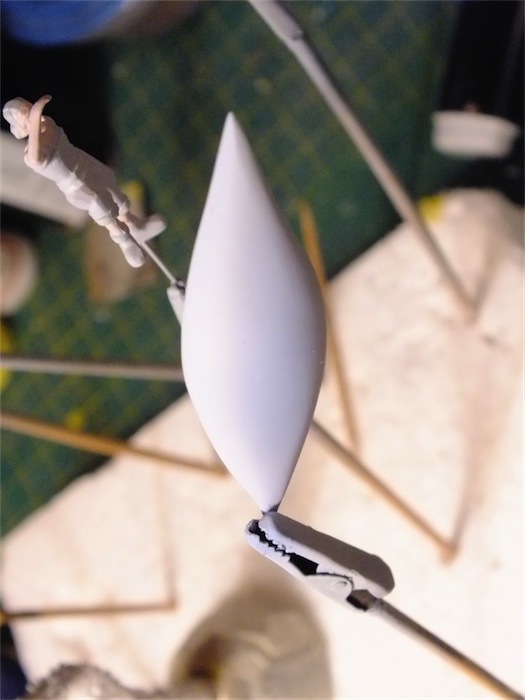
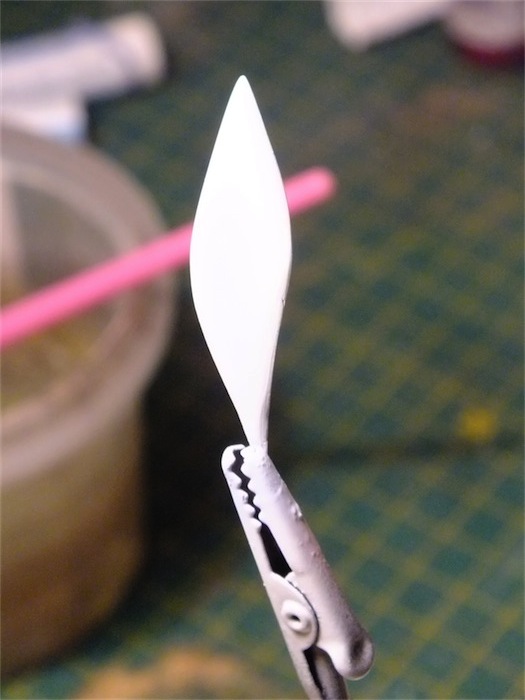
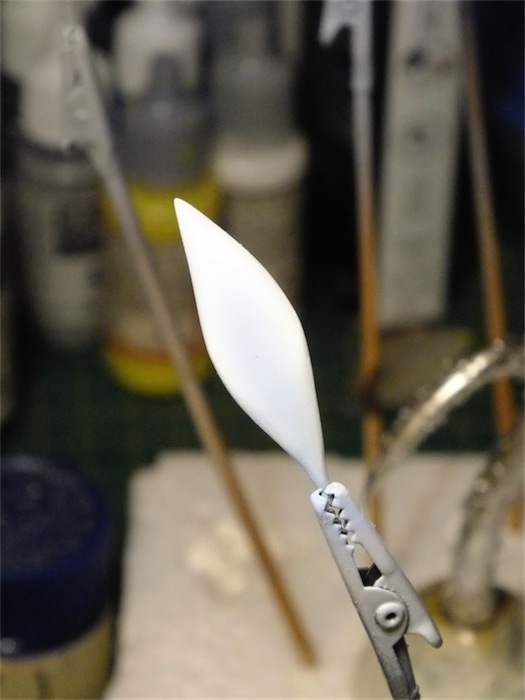
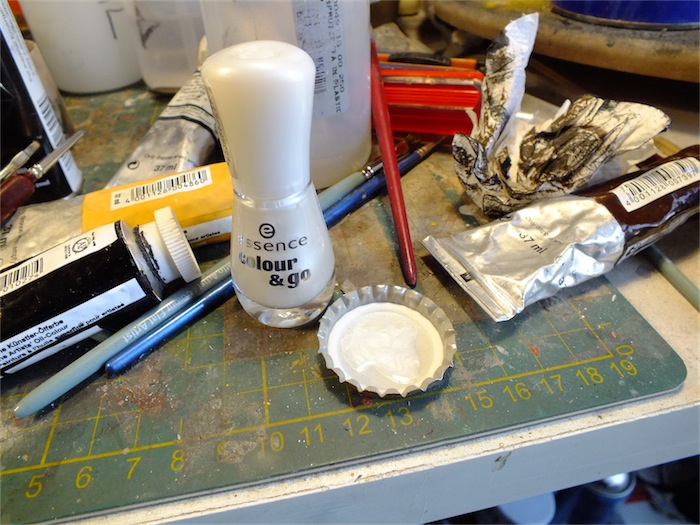
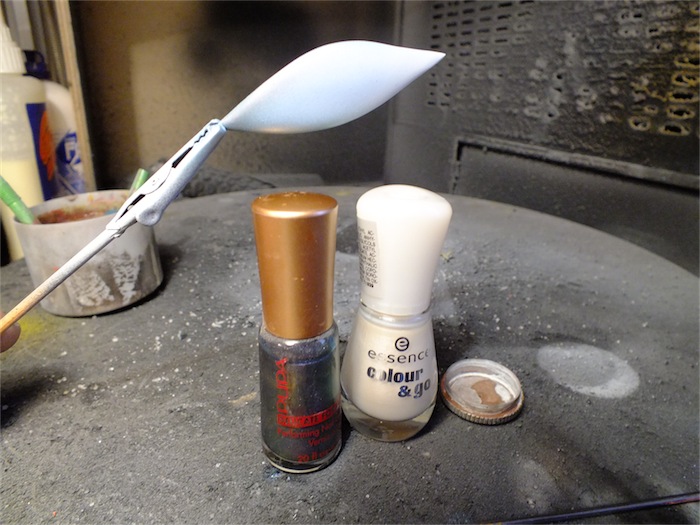
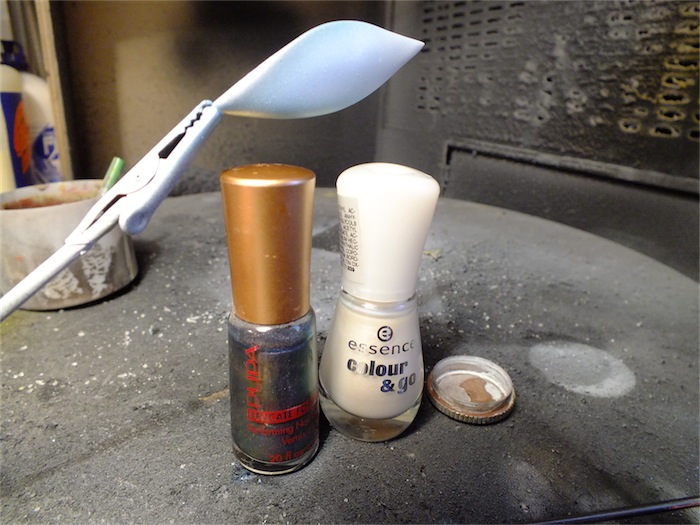
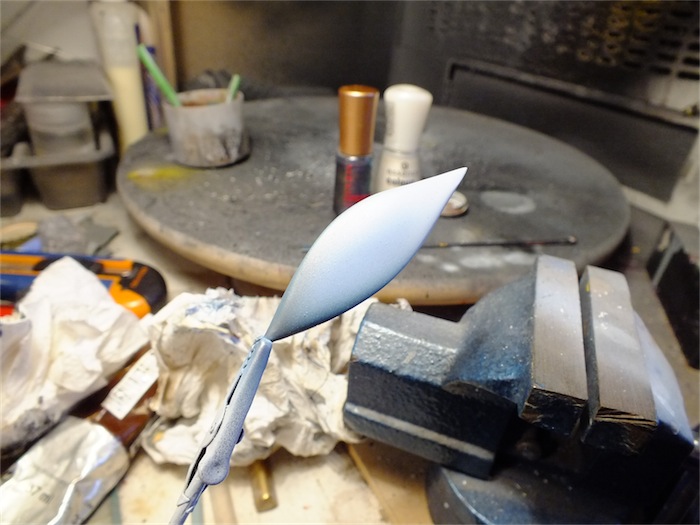
In this step I used the technique of salt for the hook , while the wings I used the nail enamel pearl and iridescent . The effect is good …
I must admit that for me it was great fun to get your hands on a figure , just to take away from the routine of mecha …: D
And here are the steps I followed to achieve this model .
Tinker Bell :
1 . Sanding and cleaning of the resin
2 . Glue of the entire body, leaving detached wings
3 . Insert a pin into the basin to facilitate the coloring and the hook attachment
4 . Puttying and sanding grout joints
5 . Primer
6 . Airbrush skin with Skin color Tamiya
7 . Transparent glossy finish on the model
8 . Using of oil paints to give soft light and shadows to meat
9 . Transparent glossy finish on the model
10 . Paint with acrylic Valleyo of the dress
11 . Shades and shadows using Valleyo color
12 . Colouring hair, eyes and details
13 . Transparent satin finish on the model
hook :
1 . Sanding and cleaning of the resin
2 . Primer
3 . Apply a black base as a primer for the technique of ” Hairspray and Salt ”
4 . Transparent glossy finish on the model
5 . Hair spray and salt technique on the hook
6 . First layer of metallic color Exaust Jet Alclad
7 . Second step of hair spray and salt on the hook
8 . Second layer with metallic color Silver Alclad
9 . Airbrushed the base with Tamiya black
10 . Shades of Tamiya gray very diluted on black base
11 . Coloring with white acrylic of the skull on the basis
12 . Removed the salt through hot water and toothbrush
13 . Transparent glossy finish on the model
14 . Washings and dirty with oil colors
15 . Passing of matt transparent
Header :
1 . Cut pieces of wood in the desired measurements
2 . Bonding with wood glue
3 . Transparent matt finish on the base
4 . Dirtying and wash with oil paint
5 . Transparent matt finish on the model
Finished! !
Easy is not it ? : D
A Lucca Comics quest’anno la Kabuki ha portato delle belle novità tra le sue Pin up in 54mm, e non potevo lasciarmi scappare la Trilly (ma non è l’unica che ho preso… 😀 ).
E cosi ho iniziato subito a metterci le mani e i colori…
Dopo aver ripulito piccole sbavature sulla parte superiore, un grossolano gradino sulla gamba allungata (peccato perche gli stampi Kabuki di solito sono perfetti…) e chiuso un pò di piccole bolle sono passato al primer e all’incarnato.
Ho voluto provare una tecnica per me nuova: ho usato la tempera acrilica per creare la base dell’incarnato (mischiando bianco, terra d’ombra bruciata e terra di siena bruciata), ma ho subito sbagliato la diluizione, creando piccoli grumi di colore… Ho quindi tolto via tutto con un pò d’acqua e riiniziato da capo.
Dopo aver steso la base (questa volta in maniera decente) sono passato ai colori ad olio.
Seguendo il video di Davide Decina sul Canale NKGC di Youtube ho dato su tutto l’incarnato un lavaggio di terra di siena bruciata. Dopo poco ho iniziato a mettere piccole quantità di bianco dove volevo che ci fossero delle parti chiare, e con un pennello pulito ho sfumato il colore. Ho ripetuto l’operazione più volte fino ad una tonalità che mi aggradava.
Lo stesso l’ho fatto sul vestito…
In questo step ho usato la tecnica del sale per l’uncino, mentre per le ali ho usato gli smalti da unghie perlati e iridescenti. L’effetto è buono…
Devo ammettere che per me è stato molto divertente mettere le mani su un figurino, giusto per togliermi dalla routine dei mecha… 😀
Ed ecco i passi che ho seguito per realizzare questo modello.
Trilli:
- Carteggiatura e pulizia della resina
- Incollatura di tutto il corpo lasciando staccate le ali
- Inserimento di un perno nel bacino per facilitare la colorazione e l’attaccamento all’uncino
- Stuccatura e carteggiata delle giunzioni
- Primer
- Passata ad aerografo di color Carne Tamiya
- Passata di trasparente opaco sul modello
- Utilizo di colori ad olio sfumati per dare luci ed ombre alla carne
- Passata di trasparente opaco sul modello
- Colorazione con acrilici Valleyo del corpetto
- Sfumature e ombre tramite velature con colori Valleyo
- Colorazione occhi, capelli e dettagli
- Passata di trasparente satinato sul modello
Uncino:
- Carteggiatura e pulizia della resina
- Primer
- Applicazione di una base nera come fondo per la tecnica della “Lacca e del Sale”
- Passata di trasparente opaco sul modello
- Spruzzata di lacca e passata di sale sull’uncino
- Prima passata di colore metallico Exaust Jet Alclad
- Seconda spruzzata di lacca e passata di sale sull’uncino
- Seconda passata con colore metallico Silver Alclad
- Colorazione con acrilici Tamiya della base in nero
- Sfumature della base nera con grigio Tamiya molto diluito
- Colorazione con bianco acrilico del teschio sulla base
- Scrostatura del sale tramite acqua calda e spazzolino da denti
- Passata di trasparente lucido sul modello
- Lavaggi e sporcature con colori ad olio
- Passata di trasparente opaco sul modello
Basetta:
- Taglio di pezzi di legno nelle misure volute
- Incollaggio con colla per legno
- Colorazione con mordente per legno
- Passata di trasparente lucido sulla base
- Sporcature e lavaggi con colori ad olio
- Passata di trasparente opaco sulla base
Finito!!!!
Facile no? 😀

